I have a bunch of macro shots I took the last week of our class along with some other I took around the house before I got sick. I'm going to post a few of those shots each blog entry until I can catch up. Then I hope to make time and post some new shots. I'll likely continue to stick to macro shots for awhile, but I'm sure I will mix it up at some point.
For the last week of the class we were giving a set up of a bunch of flowers. We were finally allowed to use our flash. Throughout the morning things were mixed up. Use the flash. Use the shallowest depths of field. Take any shot you want. Then they turned on the sprinklers to give some good water droplet shots followed by releasing hundreds of lady bugs to give us a chance to shot some insects. There were so many opportunities to shoot I could have stayed there all day shooting.
It's been a couple months since I took these shots so I can't remember the direction given for each of the shots for the day, but I'll give it my best shot. Here are the first 5 shots from the day. All these photos are unedited. All settings were done manually in the camera before the shot. All these shots were taken with my 105mm macro lens.
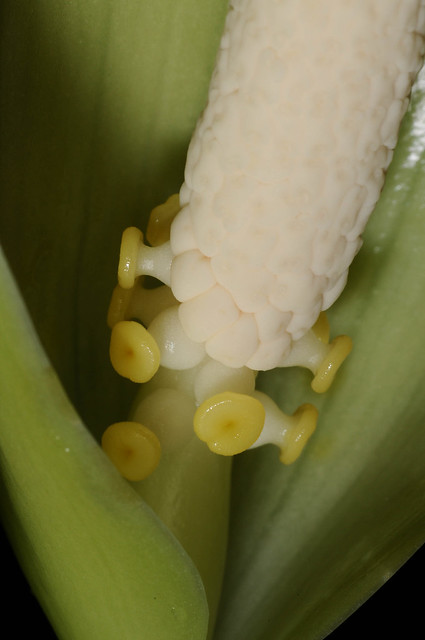
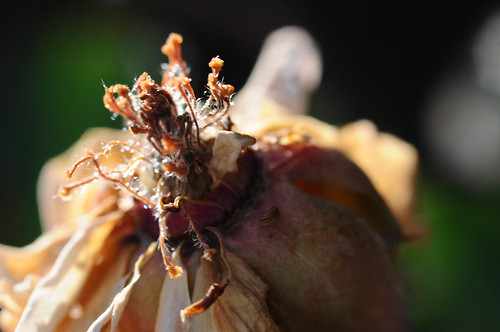
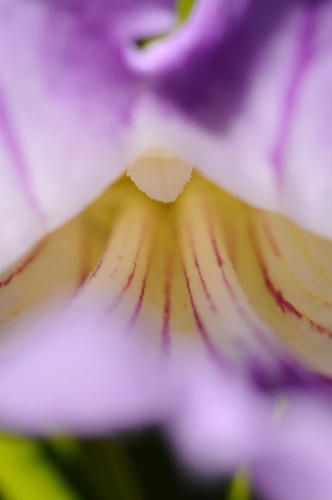
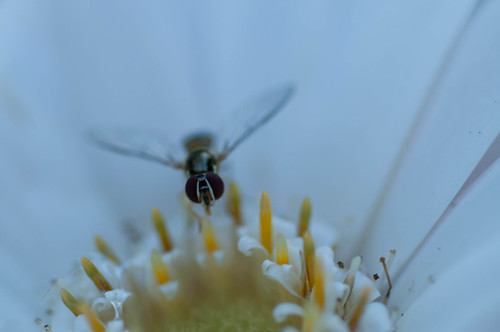
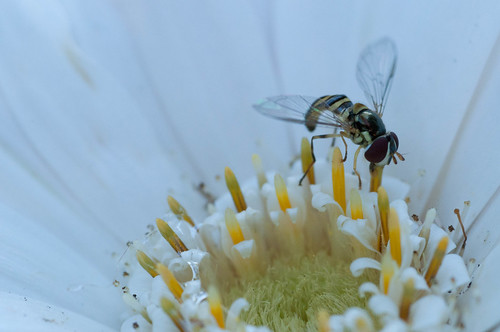
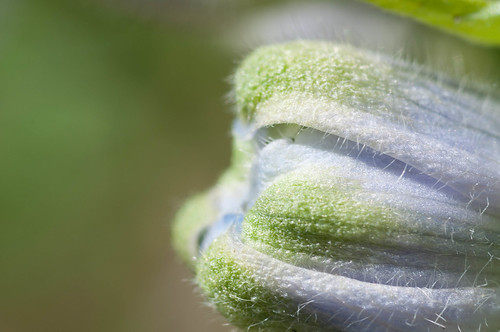
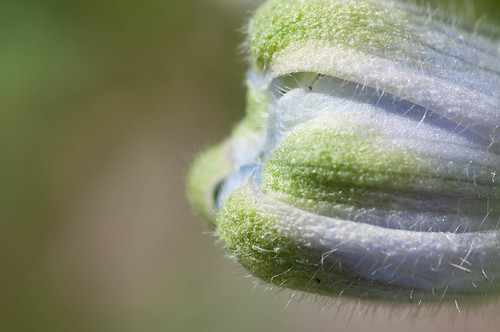
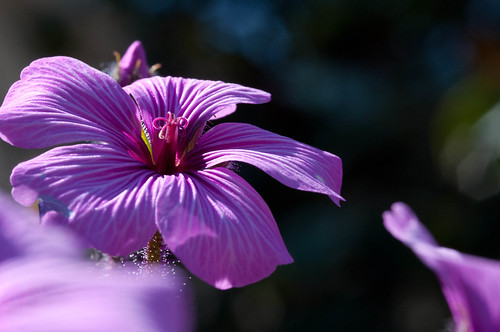
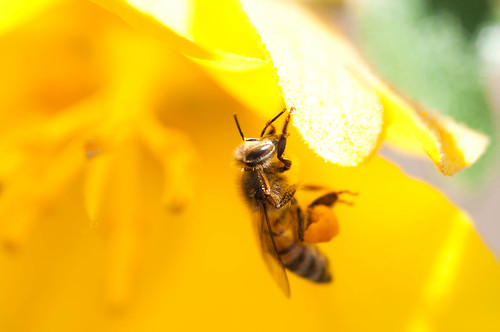
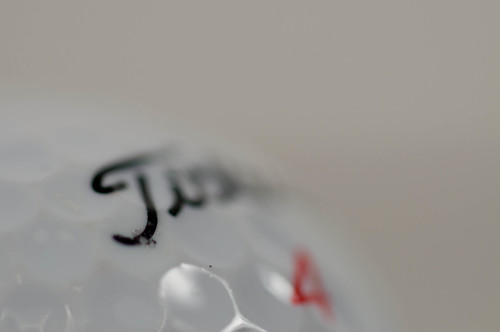
1/200s - f/16 - ISO 200
I forgot to change change the white balance before taking my first shot. I actually like the results with the blue cast as it sets a frosty mood. This and all the others shots were done in very, very bright sun light. Notice the dark background generated from the smaller aperture. In a couple posts from now when I start to introduce the flash this effect will be taken to an extreme.
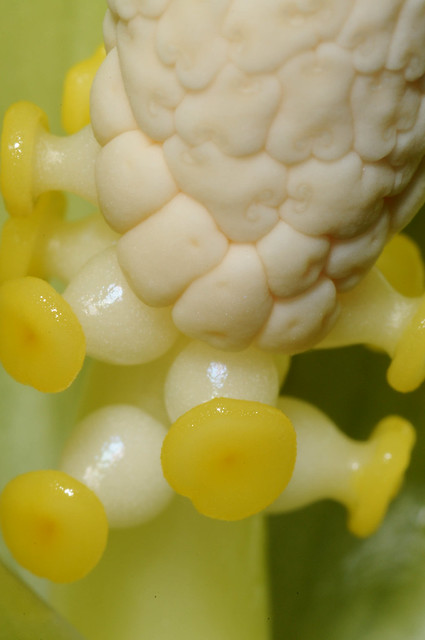
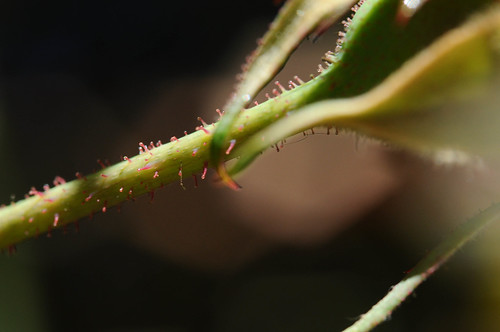
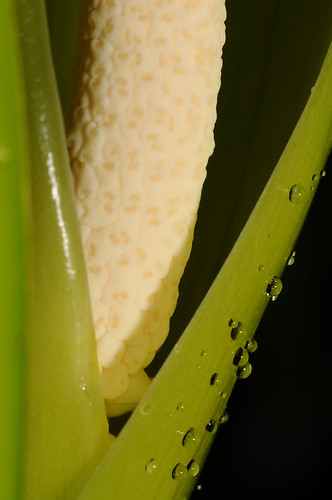
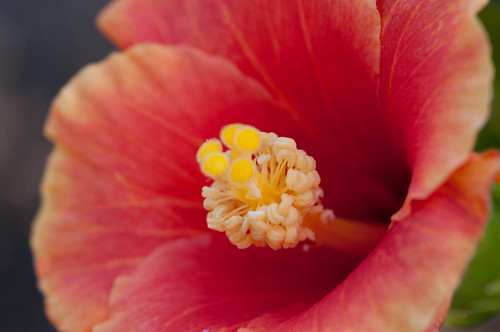
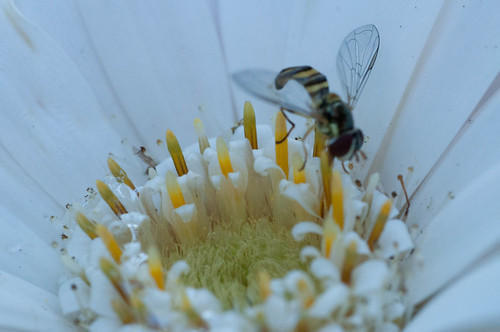
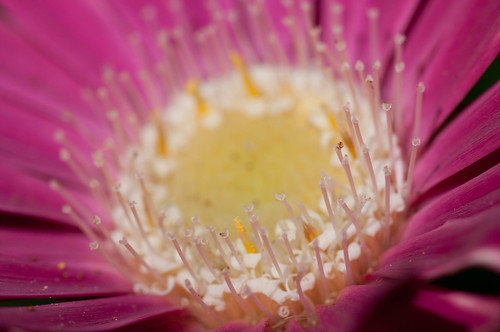
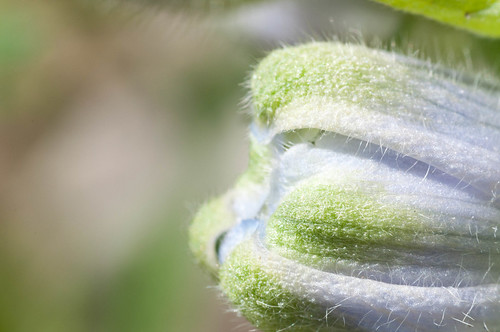
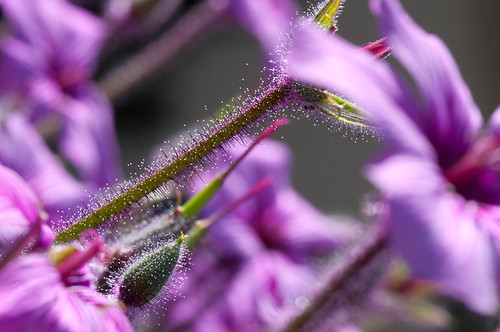
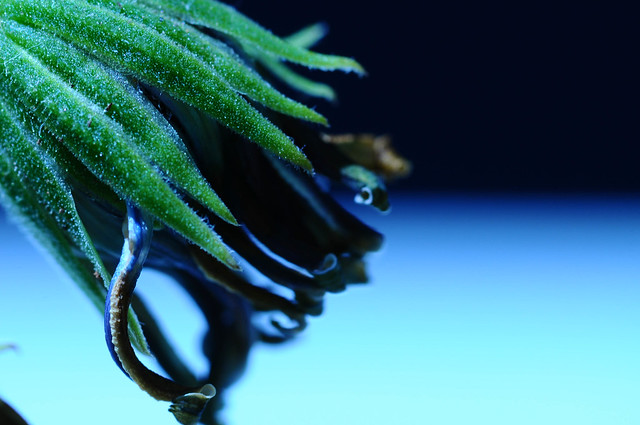
1/250s - f/16 - ISO 200
Being so close to the shot it's hard to get much in focus. Even at f/16 I was only after to get about 1/2 the shot in focus. I wish I would have composed this slightly different, maybe opening up from the lower right hand corner. I was able to highlight the details in the center of this flower.
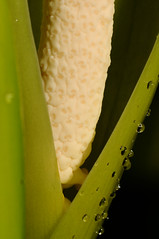
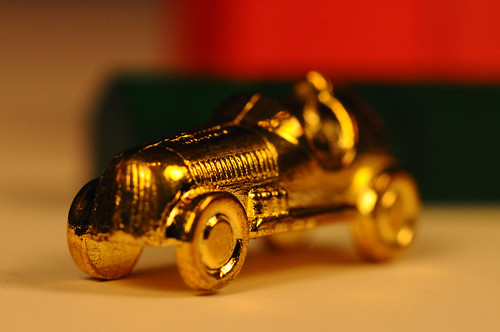
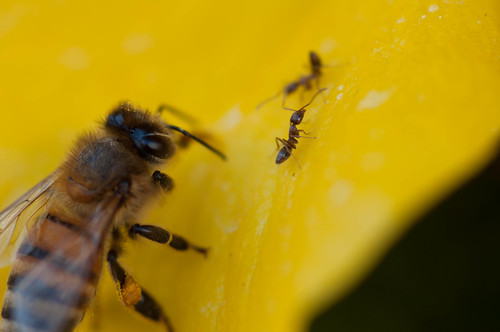
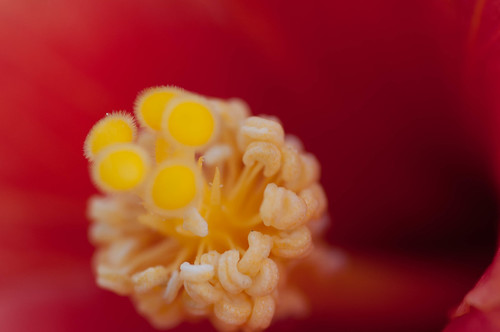
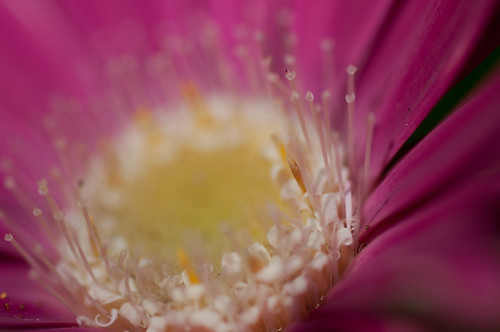
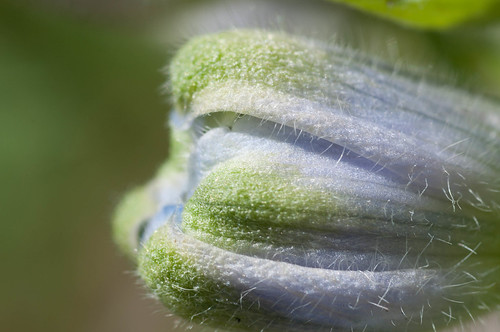
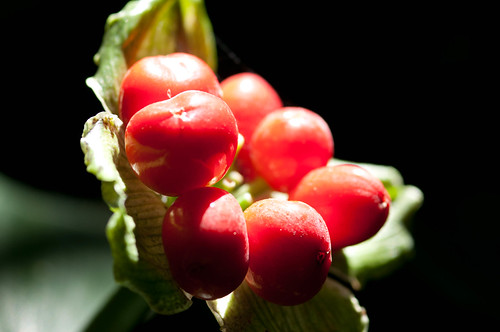
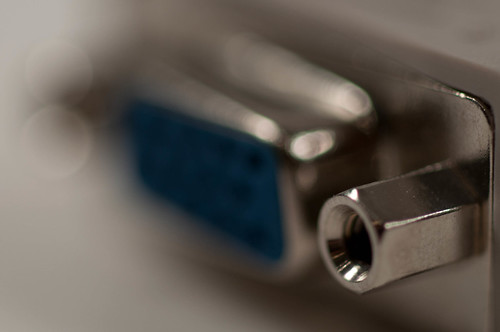
1/2000s - f/3.2 - ISO 200
This was a very different shot for me. I was trying to take the red flowers in the background to help my foreground flower pop. I missed the focus a bit and the tops of the flower are over exposed, but I really like the effect. The softness of this shot along with the extremely blurry background gives a nice effect.
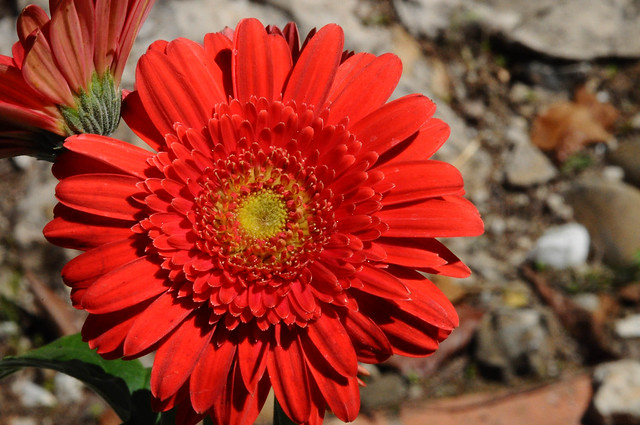
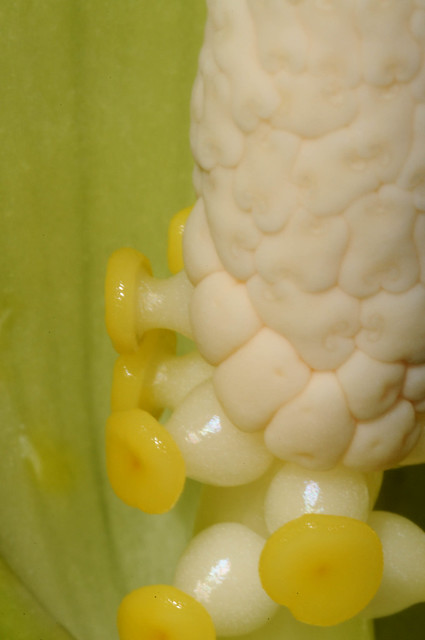
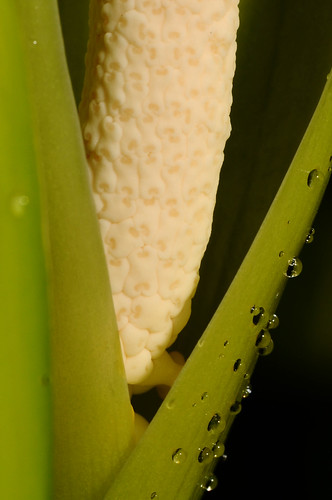
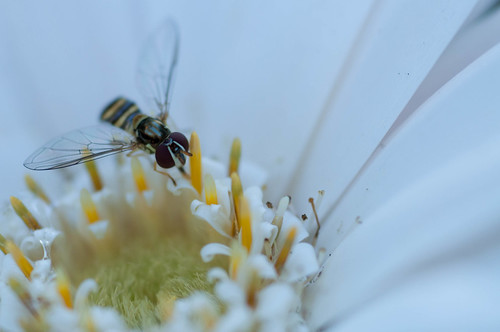
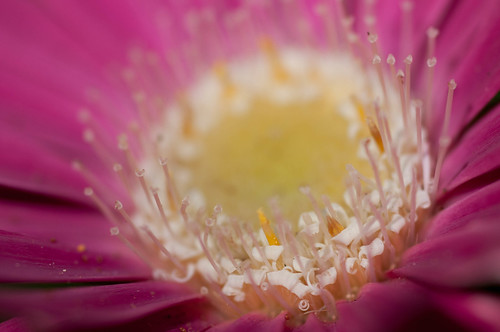
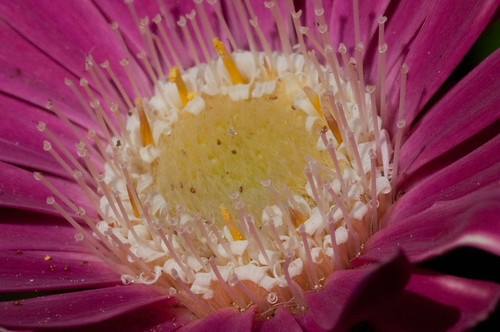
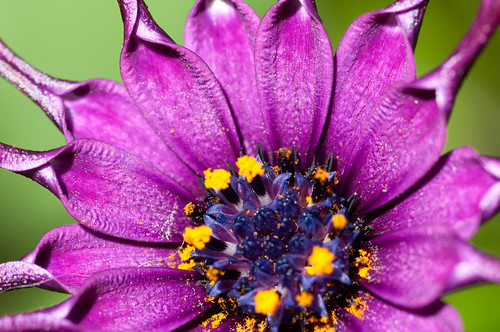
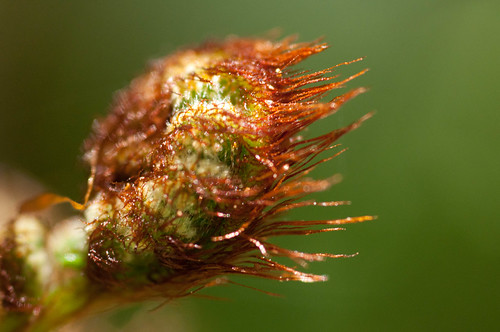
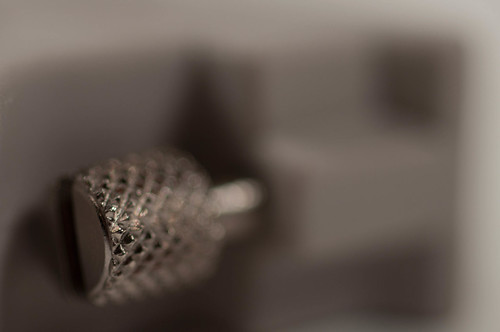
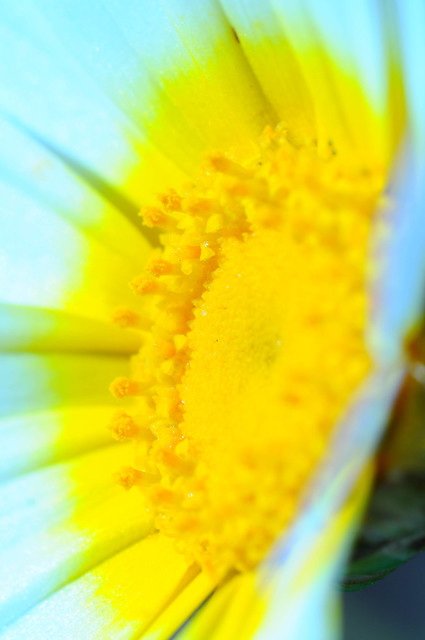
1/400s - f/36 - ISO 1600
The goal here as to get the entire flower in focus. It was a bit windy so I had to really bump up the ISO to about 4x the focal length. In order to get everything in focus, I closed down the aperture all the way down to f/36. That mean I had to jack the ISO way up to 1600. As in week 1 of the course, I'm pleasantly surprised with the way the camera performed at ISO 1600. It's not the most exciting composition in the world, but the goal of getting the whole flower in focus was achieved.
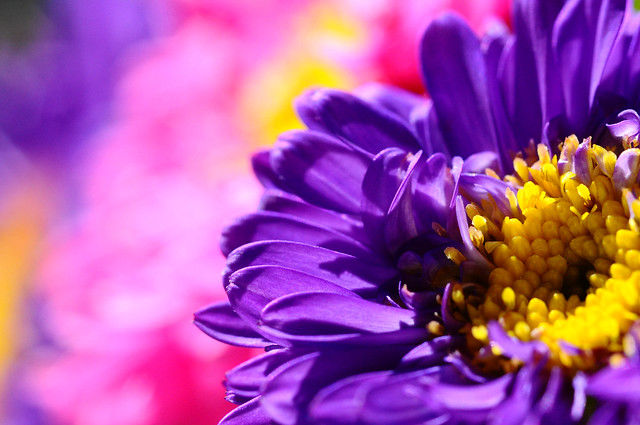
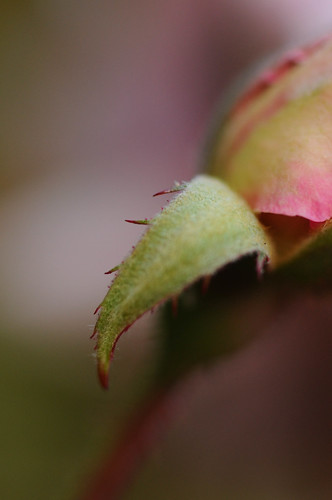
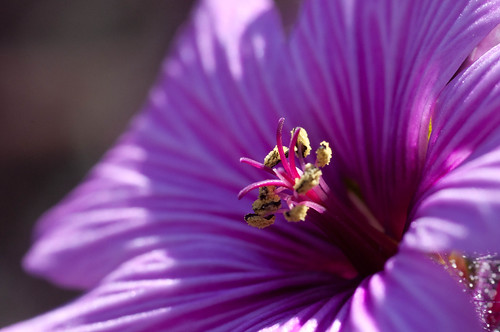
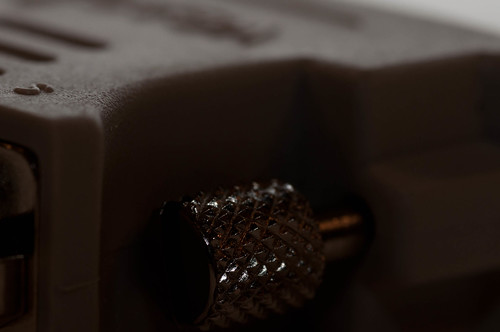
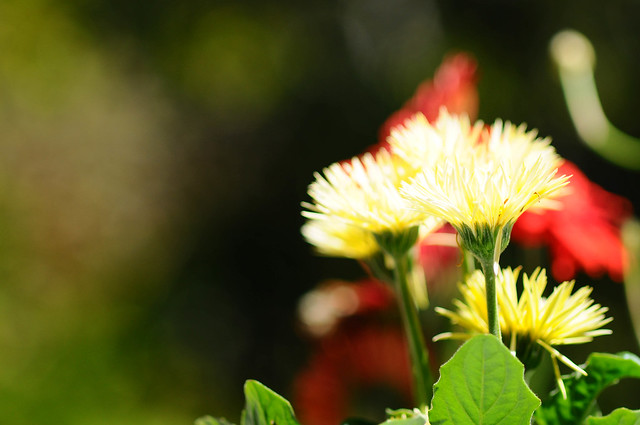
1/640s - f/14 - ISO 800
I really like this shot. I finally got a shot composed the way I wanted and have other flowers in the background helping to add some contrast to make the foreground flower pop a bit. I think I really needed to close the aperture down even more to get the purple flower more in focus, but I think the contrasting color make this shot work.
I still have a lot more shots to post from this last day of class. The next post will start to introduce the flash to the shots to really add some dramatic effects to the shots.
Feel free to leave comments and/or suggestions. I'm still pretty new to photography and am always looking to improve.